Introduction to Trenchless Sewer Technology
Trenchless sewer pipe technology has revolutionized the way we handle sewer repairs and installations. By minimizing the need for extensive digging, it offers a less disruptive and more efficient solution. One of the most critical questions homeowners and businesses often ask is about the lifespan of these modern pipes. Understanding the durability and benefits of trenchless sewer technology can help you make an informed decision about your sewer system.
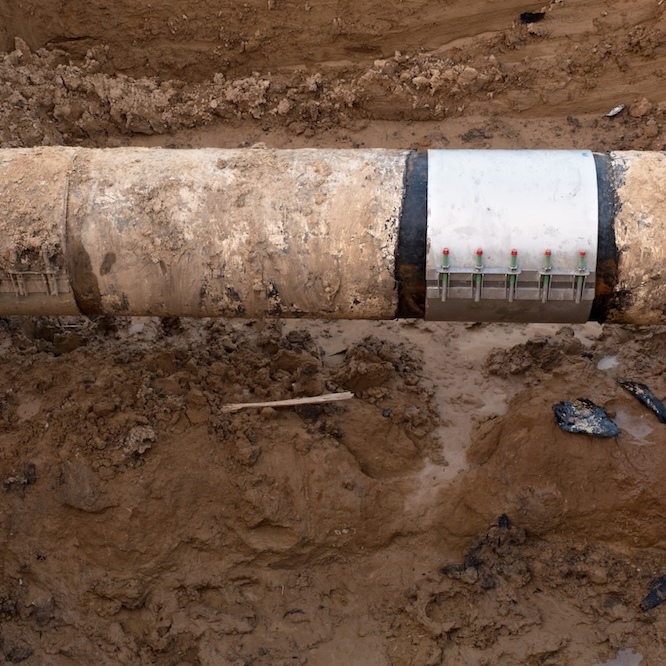
Understanding Trenchless Sewer Pipe Lifespan
Trenchless sewer pipes, commonly made from durable materials like PVC, HDPE, and cured-in-place pipe (CIPP), are designed to last a long time. On average, these pipes have a lifespan of 50 to 100 years, depending on various factors such as installation quality, soil conditions, and maintenance practices. The long lifespan of trenchless pipes is one of their most compelling advantages, providing peace of mind to property owners who want a long-term solution.
Material Durability
PVC (Polyvinyl Chloride) and HDPE (High-Density Polyethylene) are two of the most commonly used materials in trenchless sewer systems. These materials are known for their strength, flexibility, and resistance to environmental stress. CIPP involves inserting a resin-saturated felt tube into the existing pipe, which is then cured to form a new, solid pipe within the old one. Each of these materials contributes to the longevity and reliability of the trenchless sewer system.
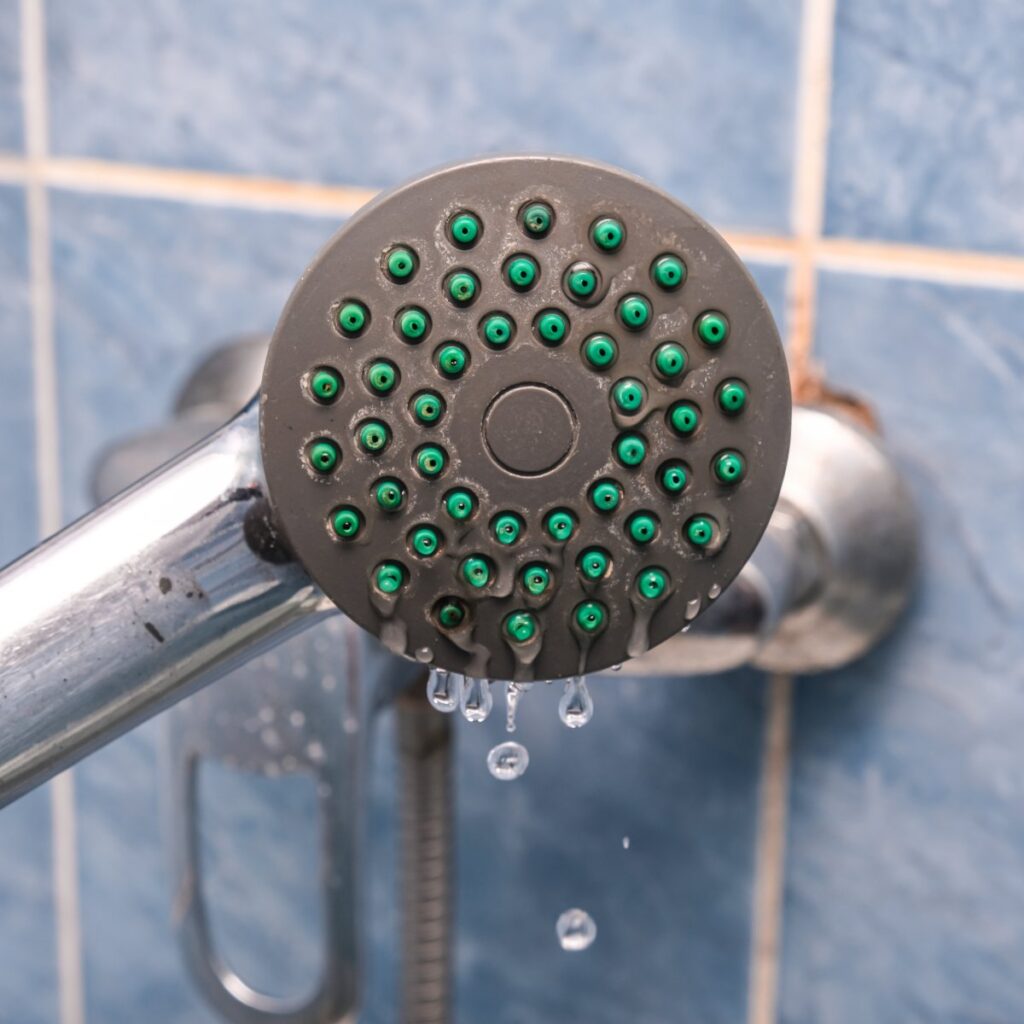
Advantages of Trenchless Sewer Pipes
The longevity of trenchless sewer pipes is not their only advantage. These pipes are also highly resistant to corrosion and root intrusion, two common causes of sewer line failures. Moreover, the installation process, which involves minimal excavation, reduces the risk of damage to existing infrastructure and landscaping. This method is less disruptive to daily life and often more cost-effective in the long run.
Corrosion Resistance
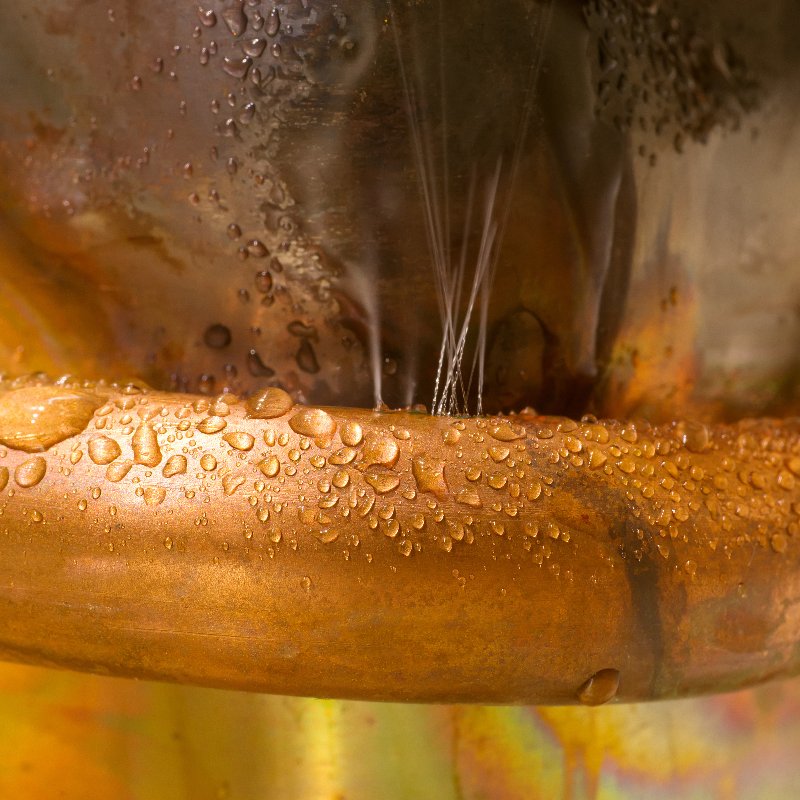
Traditional metal pipes are susceptible to rust and corrosion over time, especially when exposed to harsh environmental conditions. Trenchless sewer pipes, made from materials like PVC and HDPE, are highly resistant to corrosion, ensuring a longer lifespan and reducing the need for frequent repairs or replacements.
Root Intrusion Prevention
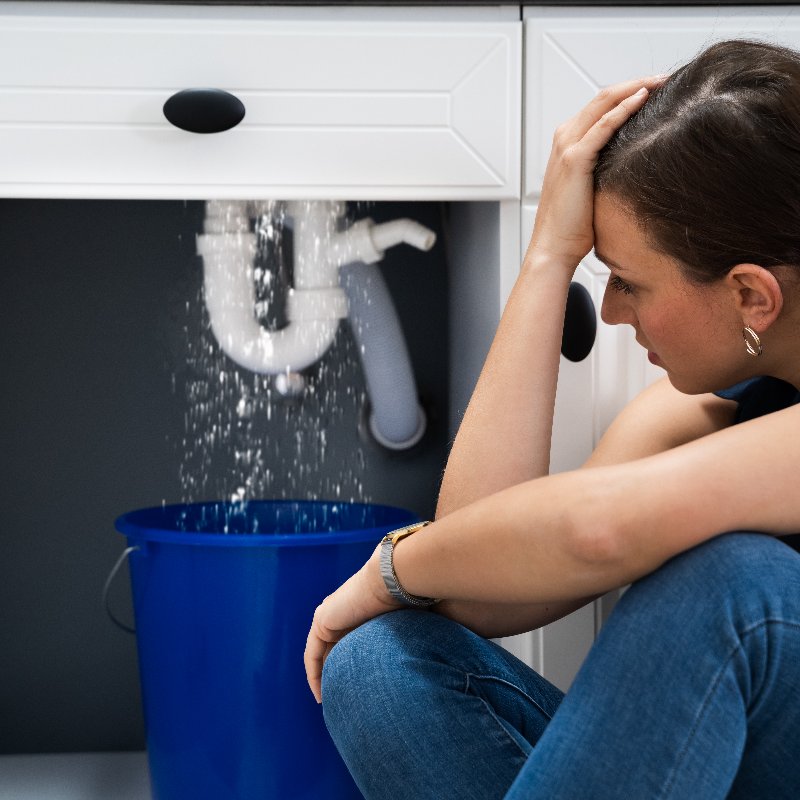
Tree roots can cause significant damage to sewer lines, leading to blockages and leaks. Trenchless sewer pipes are designed to be more resistant to root intrusion, with seamless joints and durable materials that prevent roots from penetrating and causing damage.
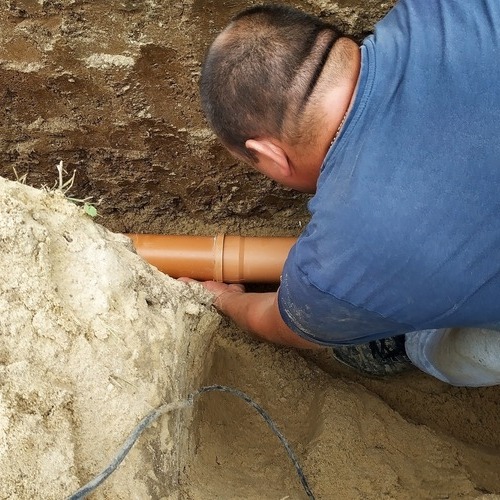
Factors Influencing Pipe Longevity
Several factors can influence how long trenchless sewer pipes last. Proper installation by experienced professionals is crucial, as poor installation can significantly reduce the lifespan of the pipes. Additionally, soil conditions, such as acidity and moisture levels, can impact the durability of the pipes. Regular maintenance and inspections can help detect potential issues early and extend the life of the sewer system.
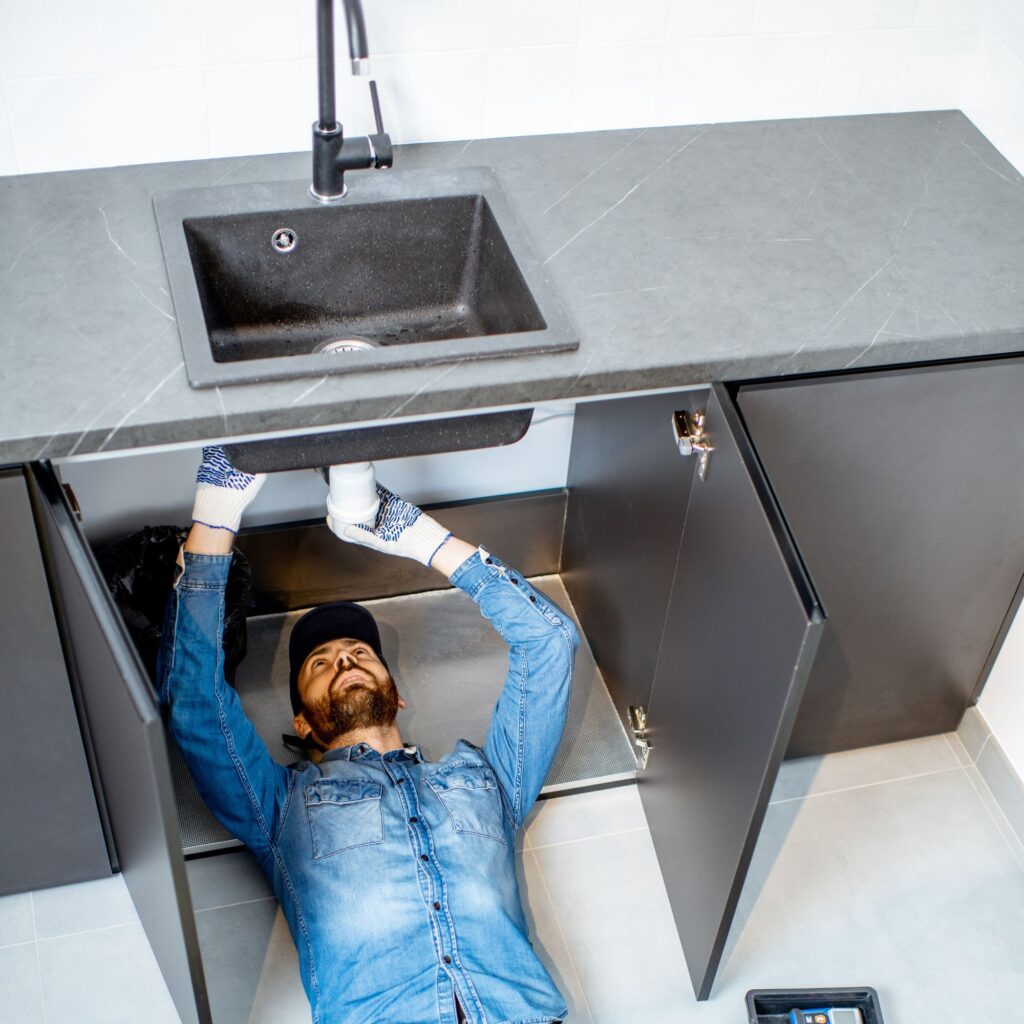
Installation Quality
The quality of the installation process plays a vital role in determining the lifespan of trenchless sewer pipes. Hiring experienced professionals who follow industry best practices ensures that the pipes are installed correctly and securely, minimizing the risk of future problems.
Soil Conditions
Soil conditions can affect the performance and durability of sewer pipes. Highly acidic or alkaline soils can accelerate the degradation of pipe materials, while extremely moist or dry conditions can also impact their longevity. Conducting a thorough soil analysis before installation can help in choosing the right materials and methods to ensure the best results.
Comparing Traditional and Trenchless Methods
Traditional sewer pipes, typically made from materials like clay or cast iron, often have a shorter lifespan and are more prone to problems such as cracking and corrosion. In contrast, trenchless pipes offer a more resilient and long-lasting solution, making them a preferable choice for modern sewer systems. The reduced environmental impact and lower long-term costs further enhance the appeal of trenchless technology.
Environmental Impact
Trenchless sewer repair and installation methods are environmentally friendly compared to traditional methods. The minimal excavation required reduces soil displacement and preserves the surrounding landscape, making it a greener option for sewer system management.
Cost-Effectiveness
While the initial cost of trenchless sewer pipe installation may be higher than traditional methods, the long-term savings are substantial. The reduced need for frequent repairs, lower maintenance costs, and extended lifespan of the pipes make trenchless technology a cost-effective investment.
Conclusion: A Wise Investment
Investing in trenchless sewer pipes is a smart decision for anyone looking to ensure a durable and efficient sewer system. With a potential lifespan of up to 100 years and numerous additional benefits, trenchless technology stands out as a superior option in sewer repair and installation. Whether you are a homeowner or a business owner, choosing trenchless sewer pipes can save you time, money, and future headaches. The advancements in trenchless technology not only provide a reliable solution but also contribute to sustainable and environmentally conscious infrastructure development.
Additional Considerations
When considering trenchless sewer technology, it is essential to consult with a professional to assess your specific needs and conditions. Understanding the different types of trenchless methods, such as pipe bursting, slip lining, and CIPP, can help you choose the best option for your situation. Moreover, staying informed about the latest advancements in materials and techniques can ensure that you make the most out of this innovative technology.
By choosing trenchless sewer pipes, you are investing in a future-proof solution that combines durability, efficiency, and environmental responsibility. Make the switch to trenchless technology and experience the benefits of a modern sewer system that stands the test of time. For trenchless sewer pipe repair in West Los Angeles, CA, call our pros at (310) 454-2010 today!